There are two basic ways to install Jenkins on CentOS: through a repository, or repo, and via the WAR file. Installing from a repo is the preferred method, and it's what we'll outline first.
$ java -version
openjdk version "1.8.0_171"
OpenJDK Runtime Environment (build 1.8.0_171-b10)
OpenJDK 64-Bit Server VM (build 25.171-b10, mixed mode)
Jenkins Version:
jenkins-2.129
$ sudo wget -O /etc/yum.repos.d/jenkins.repo http://pkg.jenkins-ci.org/redhat/jenkins.repo
The
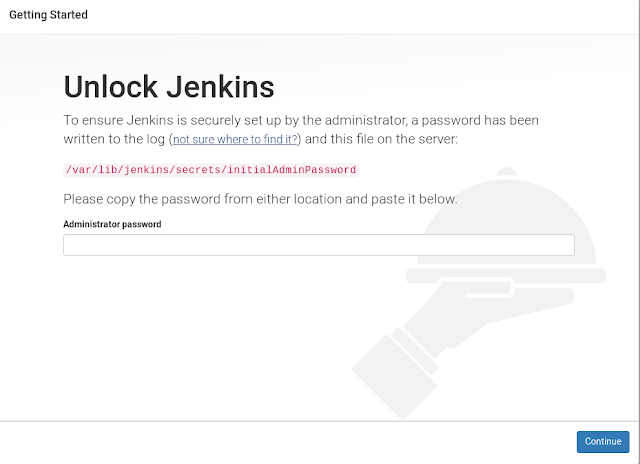
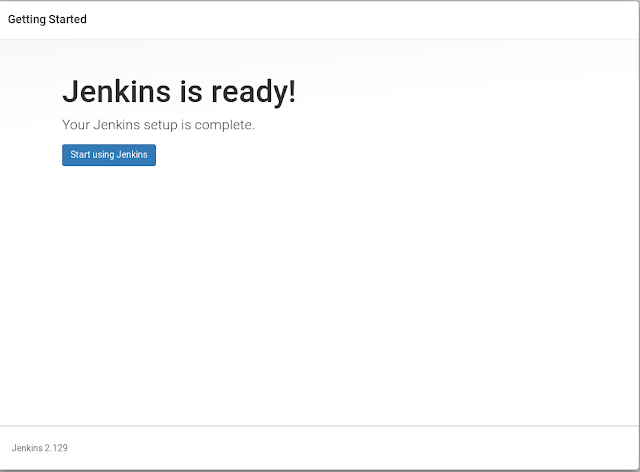
You might see a screen like below :
$ sudo cat /var/lib/jenkins/secrets/initialAdminPassword
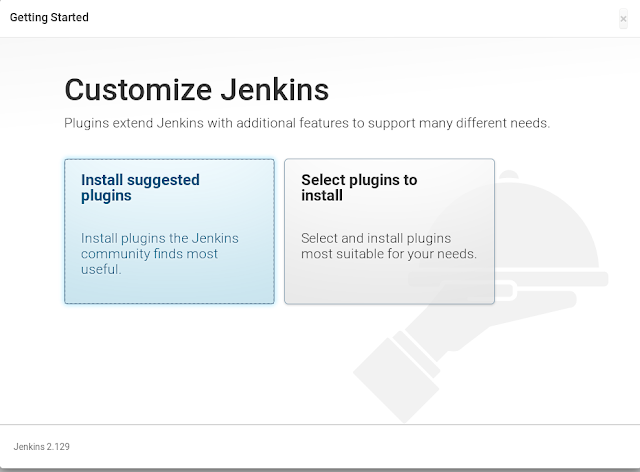
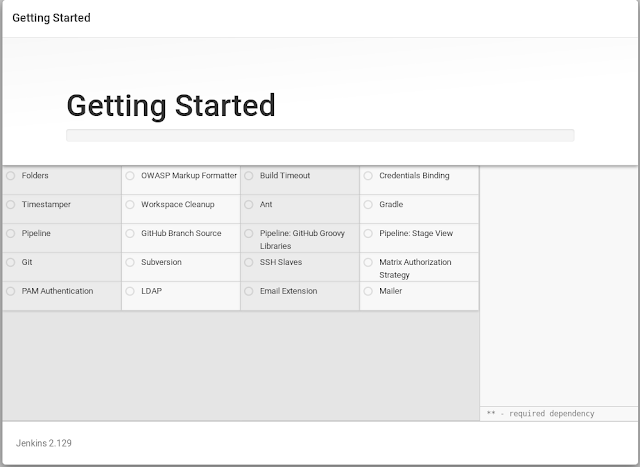
Select Install suggested plugins.
It will install the recommended plug-ins
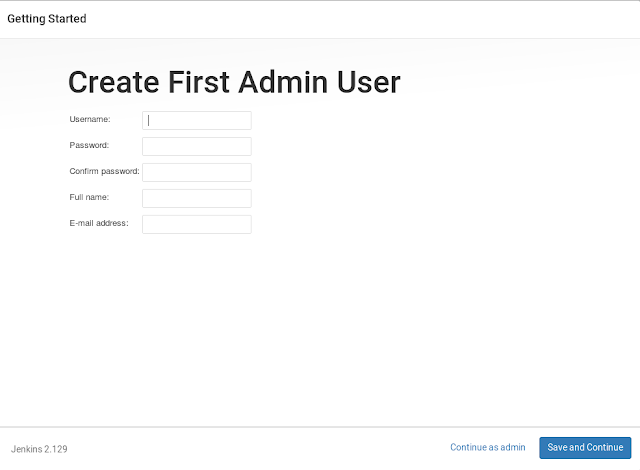
Now Create the Admin user and click Save and continue
You can give a Custom Url:

Done!
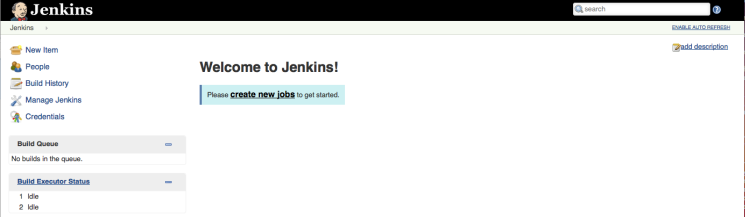
Now you can see the Home Screen
https://www.digitalocean.com/community/tutorials/how-to-set-up-jenkins-for-continuous-development-integration-on-centos-7
$ java -version
openjdk version "1.8.0_171"
OpenJDK Runtime Environment (build 1.8.0_171-b10)
OpenJDK 64-Bit Server VM (build 25.171-b10, mixed mode)
Jenkins Version:
jenkins-2.129
Installing from the Repo
Now, run the following to download Jenkins from the Red Hat repo:
$ sudo wget -O /etc/yum.repos.d/jenkins.repo http://pkg.jenkins-ci.org/redhat/jenkins.repo
The
wget tool downloads files into the filename specified after the "O" flag (that's a capital 'O', not a zero).
Then, import the verification key using the package manager RPM:
- sudo rpm --import https://jenkins-ci.org/redhat/jenkins-ci.org.key
Finally, install Jenkins by running:
- sudo yum install jenkins
That's it! You should now be able to start Jenkins as a service:
- sudo systemctl start jenkins.service
Once the service has started, you can check its status:
- sudo systemctl status jenkins.service
his will give you a fairly lengthy readout with a lot of information on how the process started up and what it's doing, but if everything went well, you should see two lines similar to the following:
Loaded: loaded (/etc/systemd/system/jenkins.service; disabled)
Active: active (running) since Tue 2015-12-29 00:00:16 EST; 17s ago
This means that the Jenkins services completed its startup and is running. You can confirm this by visiting the web interface as before, at
http://ip-of-your-machine:8080.
Run the bellow command and get the password:


Select Install suggested plugins.
It will install the recommended plug-ins

Now Create the Admin user and click Save and continue

You can give a Custom Url:

Done!

Now you can see the Home Screen
Likewise, you can stop the service:
- sudo systemctl stop jenkins.service
or restart it:
- sudo systemctl restart jenkins.service
https://www.digitalocean.com/community/tutorials/how-to-set-up-jenkins-for-continuous-development-integration-on-centos-7


No comments:
Post a Comment